How to Choose the Best Walk Path Lights
Choosing Walk Path Lights is about more than making a garden look attractive after dark. The right fixtures can help reveal steps, bends, and uneven paving while creating a welcoming route to a front door. The wrong ones may cause glare, leave dark gaps, or need more upkeep than expected. Small details matter.
Start by considering the path itself. A narrow, straight walkway may need fewer fixtures than a winding route with steps or nearby planting. Look at light output, beam direction, and color temperature, then check how each option performs in the actual setting. Warm light can feel gentle near a home, while a focused beam may better define a change in level. More brightness is not always better. Excess light can make shadows harsher and distract from the path.
Power source and weather resistance also shape a good choice. Solar lights are convenient where they receive enough daylight, but shade and seasonal conditions can affect runtime. Low-voltage systems may offer more consistent output, though installation and cable placement require planning. Check the product’s stated weather rating, materials, warranty, and replacement-part availability rather than relying on appearance alone. Test spacing before fixing lights in place; even a few inches can change the result. And be honest about maintenance. Leaves, dirt, and failing batteries can dim a setup over time. There is no single perfect design, but careful comparisons can help you choose Walk Path Lights that suit your route, climate, and budget.
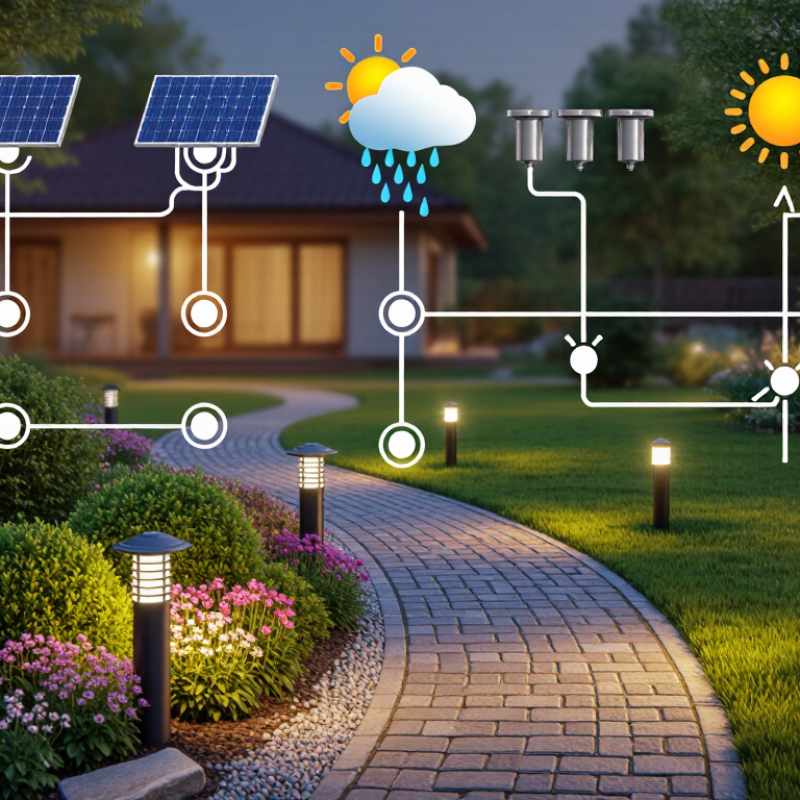
Map Path Width, Hazards, and Fixture Spacing Before Comparing Lights
How to Choose the Best Walk Path Lights
Map Path Width, Hazards, and Fixture Spacing Before Comparing Lights
Measure the Path
Measure the path’s clear width, then mark bends, steps, gates, and low branches. The U.S. Access Board’s ADA Standards use 36 inches as the minimum clear width for many accessible routes. Treat that as a useful planning reference, not a universal rule for every garden path. Note where the surface narrows or slopes; a tape measure can reveal more than a quick glance.
Map Hazards and Test Placement
Next, mark hazards and likely walking lines on a simple sketch. A raised paver, wet patch, or dark turn may need more attention than a long, straight stretch. Test proposed fixture positions with temporary lights after dusk. Look for dark gaps and glare at eye level. I’ve found that a neat daytime plan can miss a puddle’s reflection. Leave room to adjust spacing once you see the path at night. The Illuminating Engineering Society’s RP-8 guidance emphasizes visibility and glare control in roadway lighting; those principles also help when assessing outdoor walkways.
Tips: Measure between fixtures, not just from the first to the last. Check the path from both directions. Compare beam spread and mounting height only after mapping the route. The U.S. Department of Energy reports that LEDs use at least 75% less energy than incandescent lighting, but efficiency cannot fix poor placement.
Set Brightness by Illuminance: 1 Foot-Candle Equals 10.76 Lux
How to Choose the Best Walk Path Lights
Set brightness by illuminance, not by a bulb’s wattage. NIST’s Guide for the Use of the International System of Units gives 1 foot-candle as approximately 10.76 lux. That makes a simple meter reading useful: 0.5 foot-candle is about 5.38 lux, while 1 foot-candle is about 10.76 lux. For a private garden path, these values can serve as practical starting points, not universal requirements. Actual needs change with surface color, nearby ambient light, and the eyesight of people using the path.
Measure at ground level after dark. A light meter held beside a pale stone step may show a different result from one beside dark paving. Aim for even coverage, especially at turns and changes in elevation, rather than a bright pool followed by a shadow. The Illuminating Engineering Society’s RP-33-14, Lighting for Exterior Environments, addresses visual tasks, glare, and outdoor adaptation—useful considerations when setting path-light levels. Avoid aiming fixtures toward the eyes; glare can make a dim walkway harder to navigate. I still find this easy to overlook. Check again from a seated or child-height view, then adjust spacing or shielding if the path looks patchy.
How to Choose the Best Walk Path Lights - Set Brightness by Illuminance: 1 Foot-Candle Equals 10.76 Lux
Use these practical planning ranges to compare light levels for common pedestrian paths. Illuminance is measured on the walking surface; actual needs vary with surface, contrast, surrounding light, and local requirements.
| Path or Area | Suggested Illuminance | Lux Equivalent | Planning Consideration |
| Quiet garden path | 0.2–0.5 foot-candle | 2.15–5.38 lux | Low-level light can help outline the route while preserving a subdued nighttime atmosphere. |
| Typical residential walkway | 0.5–1.0 foot-candle | 5.38–10.76 lux | A balanced range for seeing the walking surface and identifying changes in direction. |
| Steps, ramps, or uneven sections | 1.0–2.0 foot-candles | 10.76–21.52 lux | Prioritize even illumination and clear visibility at edges, transitions, and potential trip hazards. |
| Shared or frequently used pedestrian route | 0.5–2.0 foot-candles | 5.38–21.52 lux | Select a level appropriate to pedestrian activity and surroundings; check applicable local guidance. |
Compare 12-Volt Low-Voltage Systems and Size the Transformer Load
A 12-volt low-voltage system suits walk paths because it can serve several small fixtures from one transformer. Choose fixtures for even pools of light, not maximum brightness; harsh glare can hide edges rather than reveal them. The U.S. Department of Energy’s Energy Saver guidance reports that LEDs use at least 75% less energy than incandescent lighting. That helps keep the connected load modest, though actual fixture wattage matters more than a general efficiency figure.
Add the wattage shown on every fixture and cable accessory powered by the transformer. For example, eight 4-watt lights draw 32 watts. Allow roughly 20–25% spare capacity, giving a target near 40 watts; then choose a transformer with an appropriate rated output. Check its instructions, since usable capacity and terminal limits vary. Long cable runs can cause voltage drop, leaving far-end lights dimmer. Divide the path into branches where practical, and measure voltage at the most distant fixture after installation. A tidy calculation can still miss real-world cable loss.
Tips: Keep a simple load list, and test the farthest light at dusk. If it looks weak, reconsider cable length or branch layout before adding fixtures. DOE’s LED comparison is useful context, not a substitute for checking each product’s specifications.
Check IEC 60529 Ratings: IP65 Is Dust-Tight and Water-Jet Resistant
When choosing walk path lights, check the full IP rating in the product documentation, not just a vague “weather-resistant” claim. Under IEC 60529, the first digit in IP65 is 6, meaning the enclosure is dust-tight. The second digit, 5, indicates protection against water jets from a nozzle under specified test conditions. That can help with rain and routine outdoor cleaning. Not immersion.
An IP65 rating does not mean a light can sit in a puddle or withstand every pressure washer. Nor does it tell you how well the fixture handles corrosion, temperature swings, or years of sun exposure. Look for the rating to apply to the complete fixture as installed, including any covers or cable-entry points. Check that seals are seated and that wiring connections follow the maker’s instructions. Small gaps matter.
For a path beside sprinklers, note where the spray hits and whether water collects around the base after rain. A raised, stable mounting surface can help keep the fixture clear of standing water, but it cannot upgrade its rating. I’ve found it easy to focus on the number and overlook the installation details. That is a useful mistake to catch before buying. If a listing gives no test or installation details, ask for the technical sheet rather than guessing.
Compare LED Efficacy in Lumens per Watt and Verify Rated Life
How to Choose the Best Walk Path Lights
Compare LED Efficacy in Lumens per Watt and Verify Rated Life
Compare lights at similar output levels. Lumens per watt shows how efficiently a fixture turns electricity into light. For example, a 400-lumen light using 4 watts delivers 100 lumens per watt. Higher efficacy can reduce energy use, but it does not guarantee a comfortable path. Check fixture lumens, beam spread, and spacing. A narrow beam may leave dark gaps between pools of light. Numbers do not show everything.
Tips: Compare the same type of measurement across product specifications. Look for fixture output, not just the LED chip’s output. I still check the beam pattern twice; the figures can miss uneven coverage. A quick evening test can reveal glare near steps or shadowed corners.
Rated life needs careful reading. A rating such as L70 at 25,000 hours usually means the LEDs are expected to retain 70 percent of their initial output under stated test conditions. It does not mean every fixture will last exactly that long outdoors. Heat, moisture, and frequent switching can affect performance. Check the test conditions, warranty terms, and replacement options. A long life rating looks reassuring, but I would not treat it as a promise.
How to Choose the Best Walk Path Lights
Compare LED efficacy in lumens per watt and verify rated life.
These illustrative examples show how efficacy and rated life can differ between path-light options; they are not universal product ratings. Check each fixture’s specification sheet, and compare rated life under the stated test conditions before buying.